My boyfriend and I recently moved into our new apartment. Needless to say, we have been quite busy spending all of our free time fixing things around the apartment. One of my first projects was adding compartments into my dresser drawers. Each drawer is so big with so much space that it’s way too easy for everything inside to turn into a big mess of clothes. At first, I thought about buying pre-made dividers, but the problem is that it’s so hard to find dividers that are the right size for your drawers and give you the compartments that you want. Yes, there are expandable dividers that use tension to stay in place, but I had bought these for my old room and the pieces kept popping out and the tension didn’t work well. Long story short, they were moving all over the place in my drawers and just were not ideal. So I thought to myself, there has to be a way to easily make dividers and personalize the compartment sizes to exactly what I’m looking for. Nothing permanent or too complex. After some brain storming, this is what I came up with, and let me tell you, it’s soooo easy and I love it. Hopefully, this helps you with some of your home organizing.
Here’s what you’ll need:

- Wood
- Wood glue
- Tape measurer
- Pencil
- Sandpaper
- Scrap paper/cardboard to work on
Step 1: Measure your drawer size, this includes height, width and depth. Now think about how you want your divider layout to be, and make the appropriate measurements. I wanted one big section on the far right and three smaller sections on the left.
Note: Make sure you write down all of your lengths so you don’t forget when you go to buy your wood.

Step 2: Go to your local hardware store (we just went to Lowes) and pick out your wood. My drawer measured 30 in x 21 in x 3.5 in. Remember, you need to be able to place your dividers in so make sure the height of your wood is less than the height of your drawer. In my case, I bought wood 3 inches high. Also, if you are going to have your dividers all the way across and all the way down in your drawer, consider cutting it 1/4-1/2 in. short so you have some room to work with when you put it in (or if you want to take it out). You can always use shims to fill the gaps if the wood is too short.
What’s awesome about hardware stores it they’ll cut your wood for you. So take your plank and ask one of the workers to cut it to the right sizes. At the end of the day, I had one 21 in, one 17 in. and one 12.5 in.
Step 3: Lay out your wood in the drawer and make sure it suits the layout you were looking for. Then mark your pieces with a pencil so you know where you want to glue the pieces together. In my case, some sides of the wood fit together better than others, so I also marked which ends of each piece should go together.


Step 4: On your work surface, sand the edges of your wood so that they’re smooth. You don’t have to overkill it, you just want to avoid giving yourself or your clothes any splinters.

Step 5: Glue your wood together based on the instructions per your wood glue bottle. For mine, I had to let the pieces sit for 30 minutes to dry.


I know you like this little structure I’ve built here.
Step 6: Place the dividers in your drawer and you’re done.
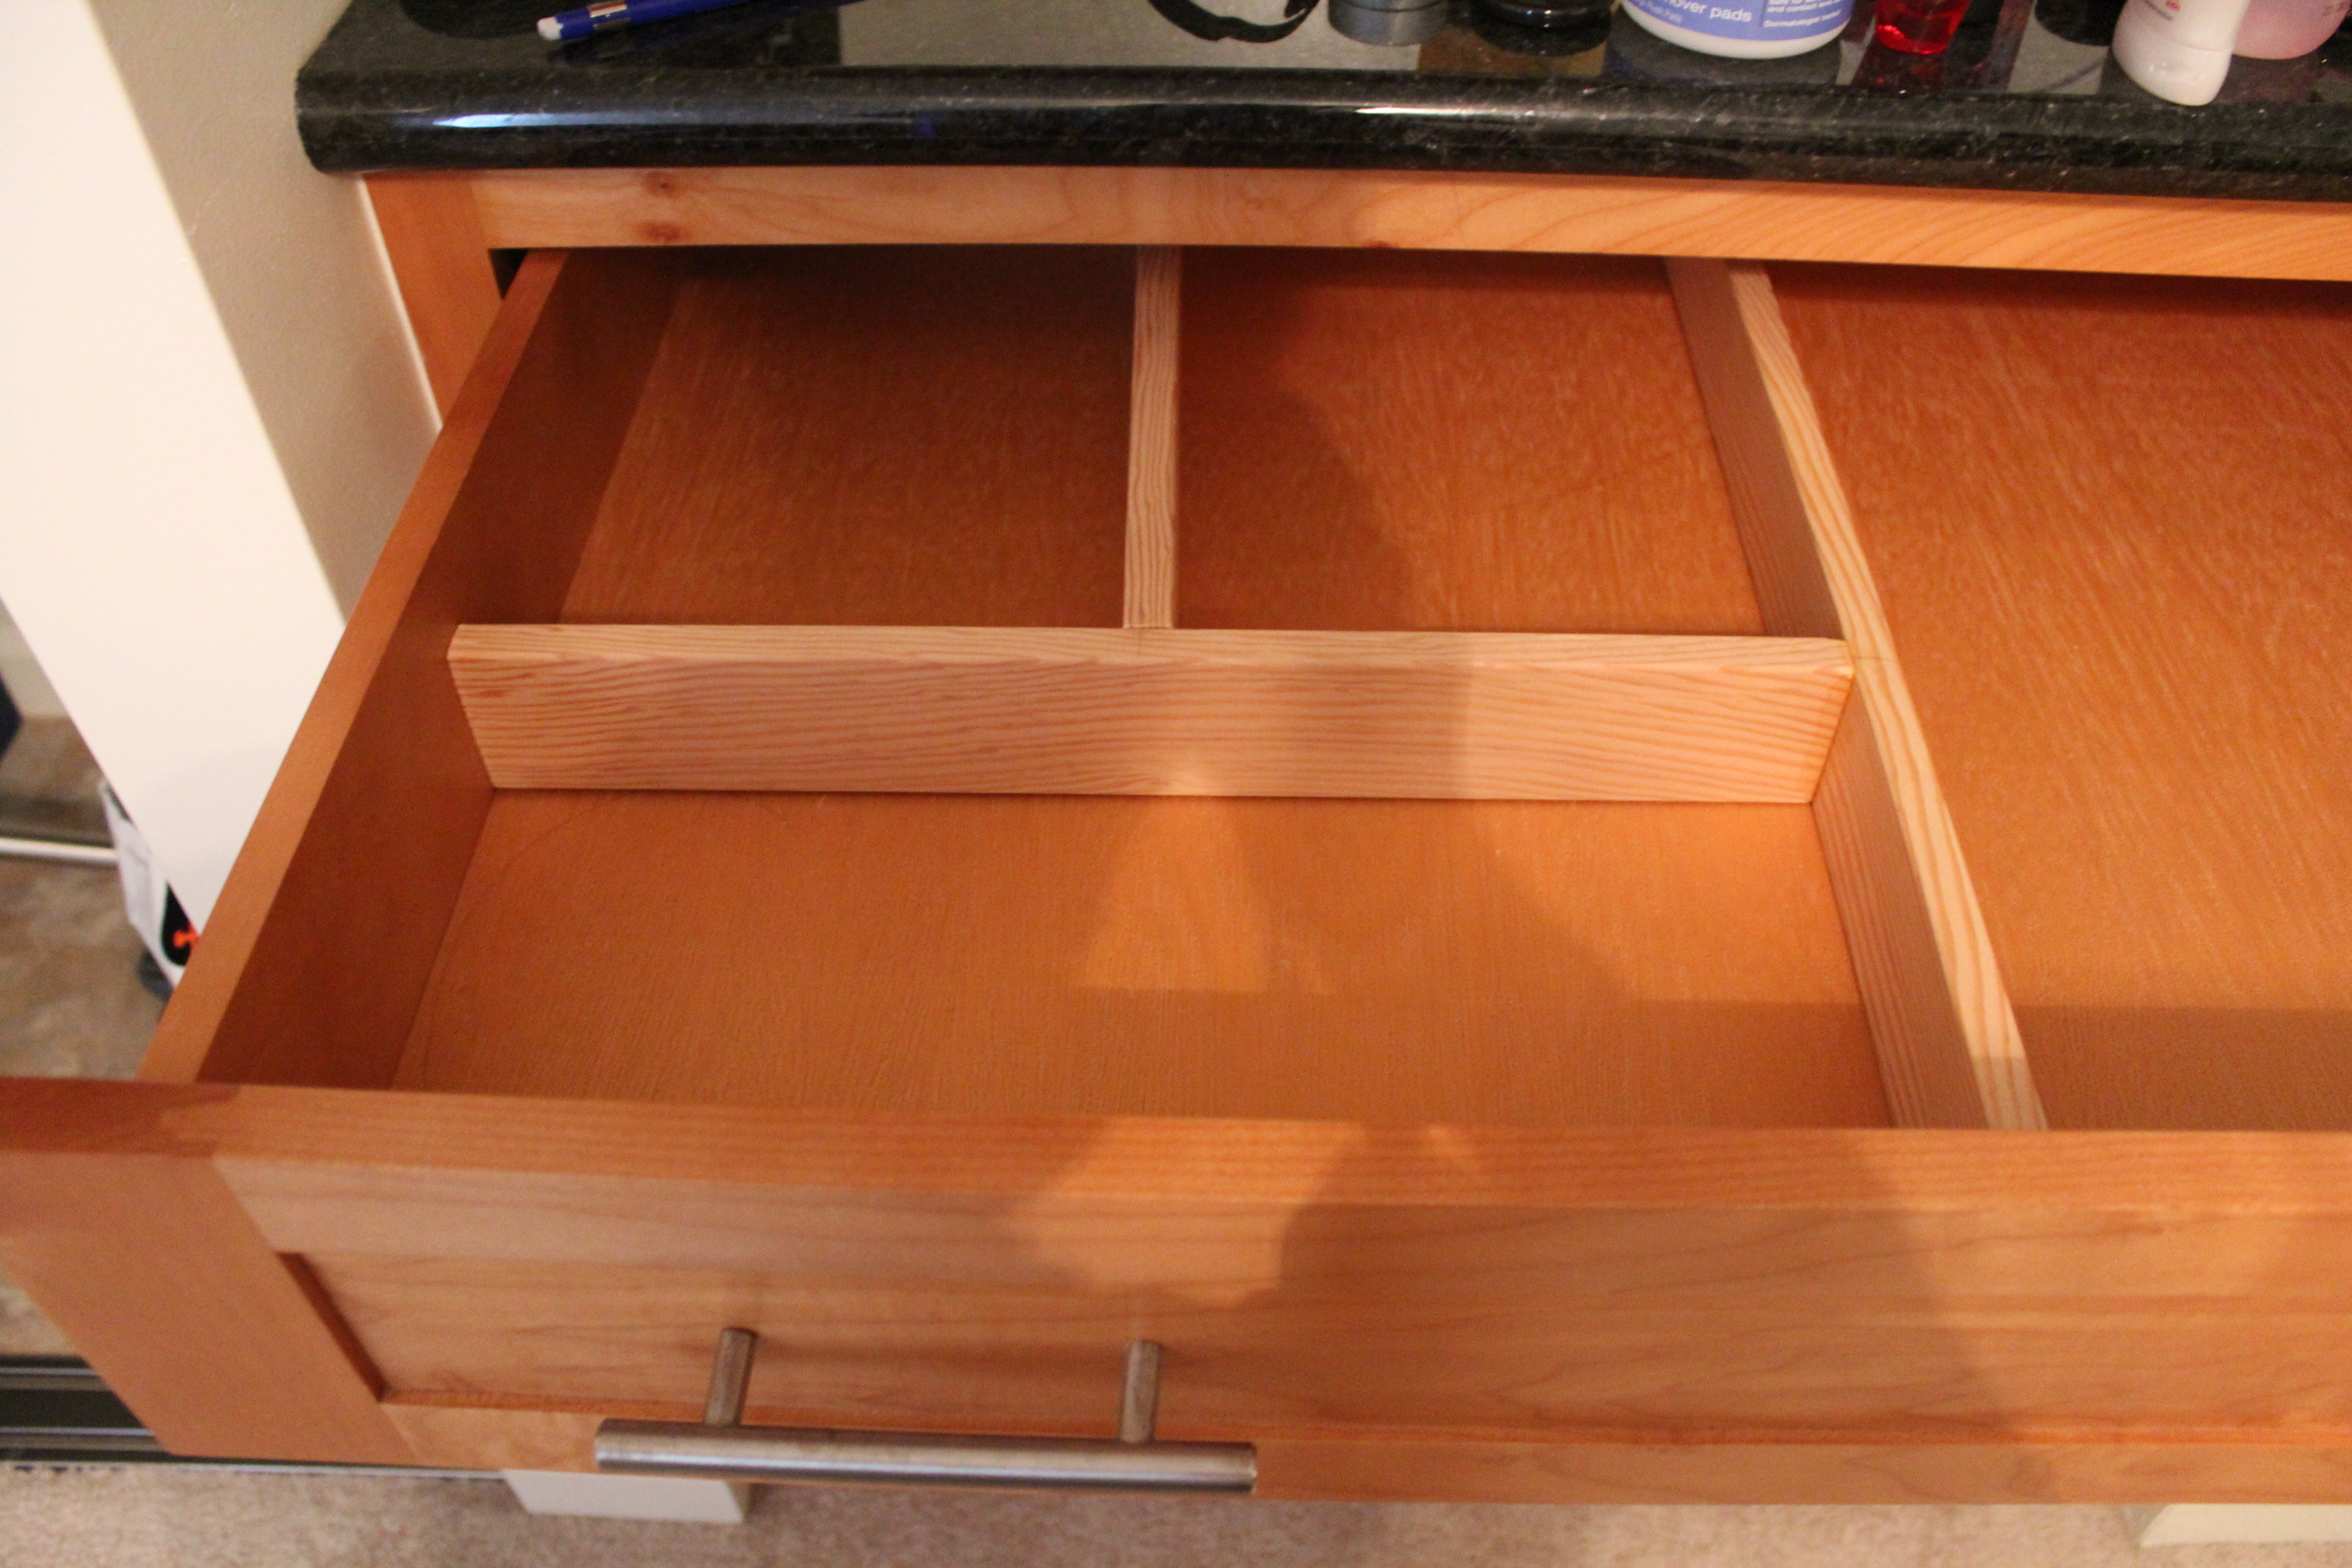

I hope you enjoyed this organizational DIY. I can honestly say I’m quite excited about these and will be making more for all my dresser drawers.


